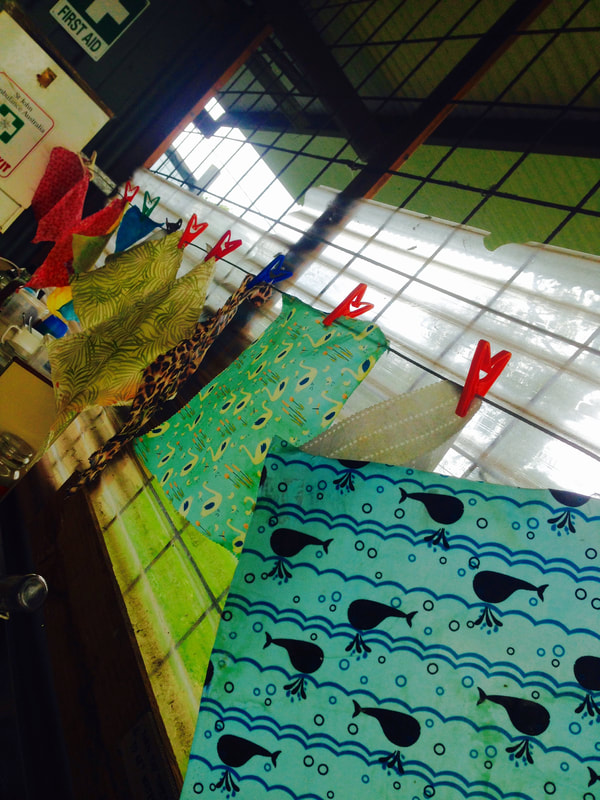
Bees are incredible creatures - pollinating our food and flowers whilst making golden honey and versatile wax. This week we got rather sticky, munching on honeycomb and discovering how honey and wax go hand in hand. Wax, as a product, has many, many uses. Today we used it for making Bees Wax Wraps, and the wee ones had a play with some homemade modeling wax. Beeswax Wraps are a brilliant plastic free sandwich wrap - replacing the need for cling film in your home. And they’re so simple to make. Check out this DIY recipe that we used when making them at Buds n Blooms. YOU WILL NEED: - grated beeswax - cotton fabric - pinking shears (pinking shears gives your wrap a nice finish and stops it fraying) - an iron - aluminium foil - old towel - baking paper METHOD: 1. Cut your cotton fabric to a desireable size for you wrap with the pinking shears 2. Cover your iron with alfoil to keep the wax out of it (Precautionary) 3. Lay out your old towel to iron on 4. Lay out you baking paper (you may need to overlap the sheets to make it big enough) 5. Place you fabric on the baking paper and sprinkle the wax on it evenly and cover with another sheet of baking paper. 6. Iron the wax and the fabric evenly and right to the edges. 7. Once all the wax is melted and while it’s still hot, quickly peel back the paper, peel off the fabric and hang to dry. We had so much fun making these - why not give it a go! 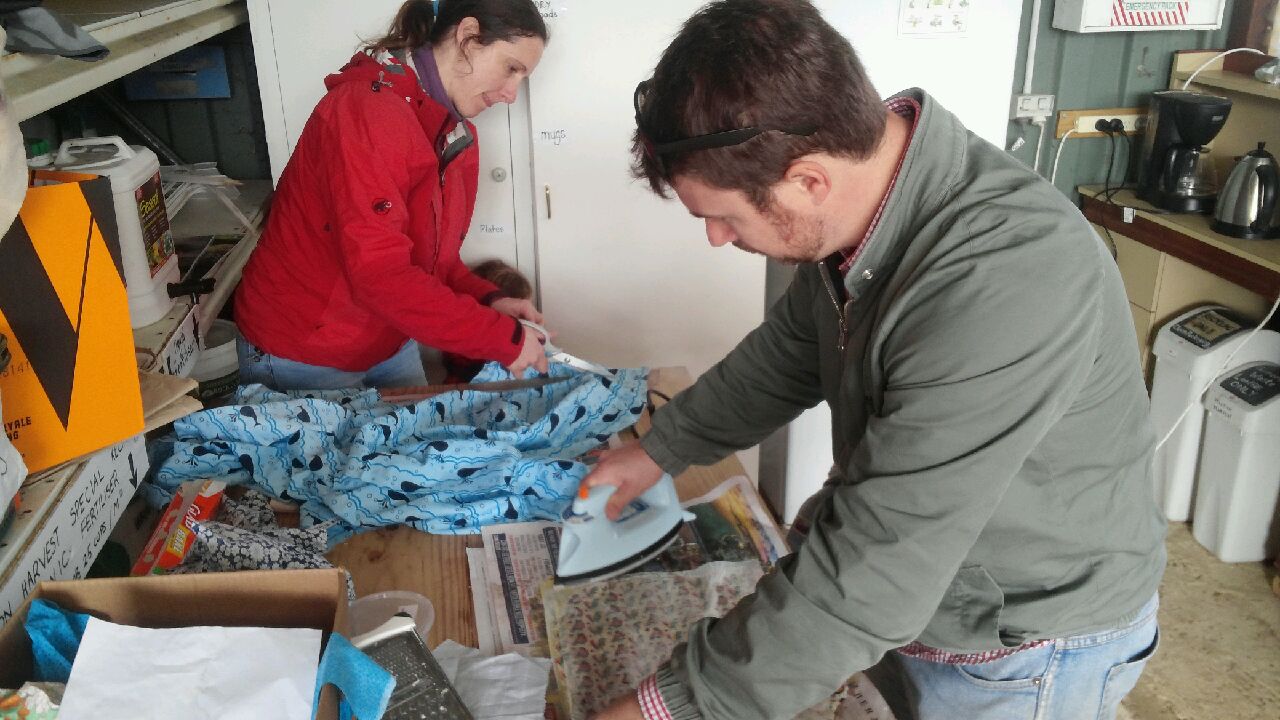
0 Comments
Your comment will be posted after it is approved.
Leave a Reply. |
Sarah Nix
Buds n Blooms Coordinator Archives
August 2018
Categories |
 RSS Feed
